Navigation Links
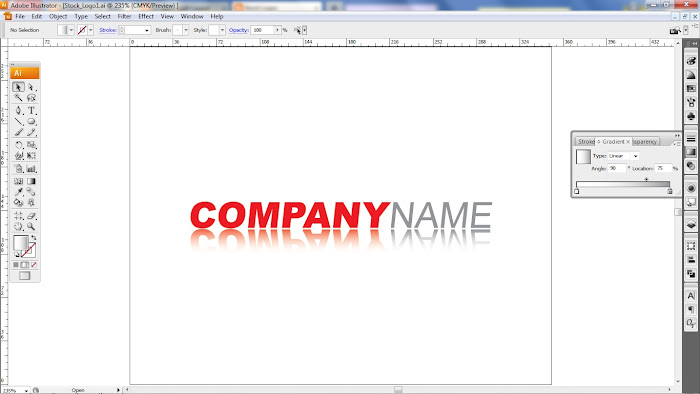
Creating Reflection On Text (Adobe Illustrator)
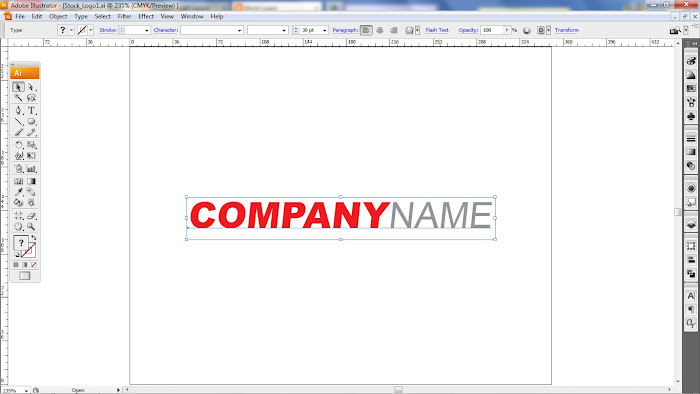
This is quite an easy effect to accomplish. In my example I used the general text "company name". Colorize the text according to your preferences. I slanted the text slightly using the shear tool. This can be found under "Transform" in the "Object" menu.
In step 2 I turned the text to outlines(SHIFT + CTRL + O). Then I ungrouped the letters(SHIFT + CTRL + G).
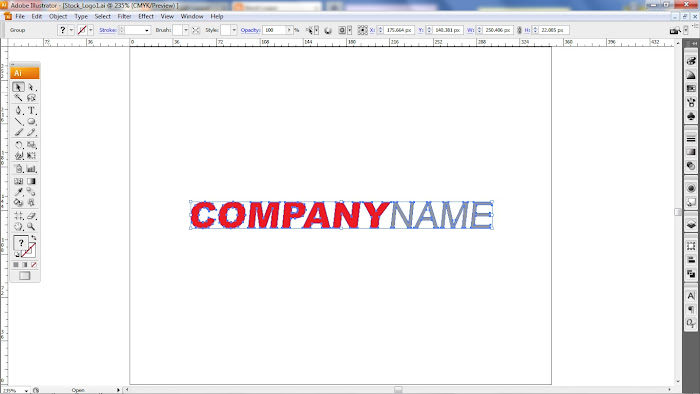
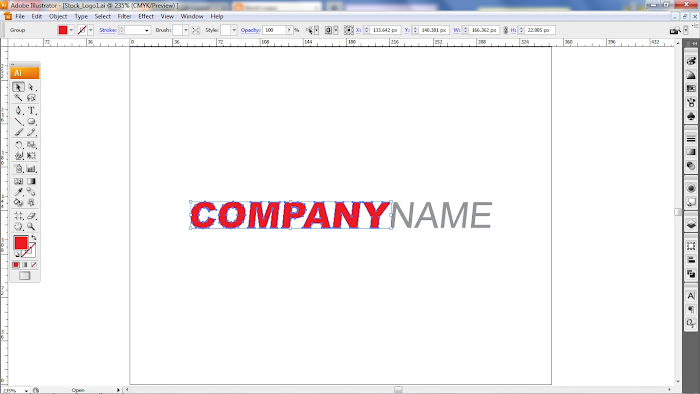
Next I regrouped the letter according to color(CTRL + G)
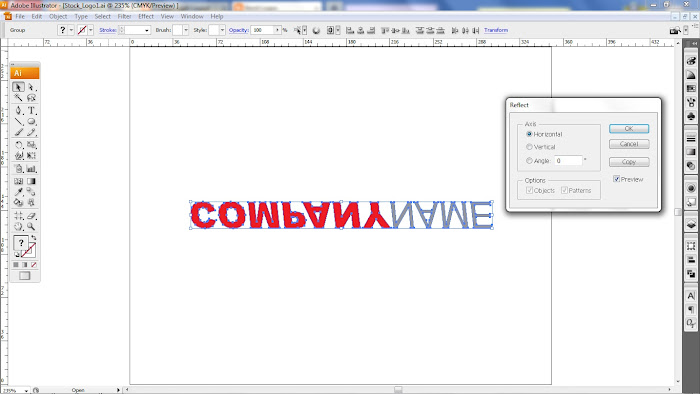
In the next step I selected both words and reflected them using the "Reflect" tool. This is also found under "Transform" in the "Object" menu. Choose the "Horizontal" axis then click on "Copy".
Move the reflected text down until it sits just below the original. Select each word individually and create a gradient fill using the text color and the background color. Make the angle of the gradient 90 with the background color being at the bottom. I also used a 80% opacity on the reflected text. Finally, adjust the gradient slider to the desired level.